in MarathonThe hidden stash you need to find MIDA Run/Hide 4 The agreement is located behind the cafeteria in the dormitory. However, you first need to find a cleverly hidden key to open the stash before any other players get their hands on it. Once acquired, you'll be able to place surveillance gear around the outpost map, allowing MIDA to stay one step ahead of the UESC opposition. In this Marathon Guide, we will explain how to find the hidden stash Run/Hide 4 And how to complete all the steps that follow.

How to Exfiltrate at the Outpost in a Marathon
As with other maps in Marathon, extracting the Outpost requires different methods. Here's exactly how you can get away with your loot.
Hidden stash and main location in Run/Hide 4 in Marathon
Find the key
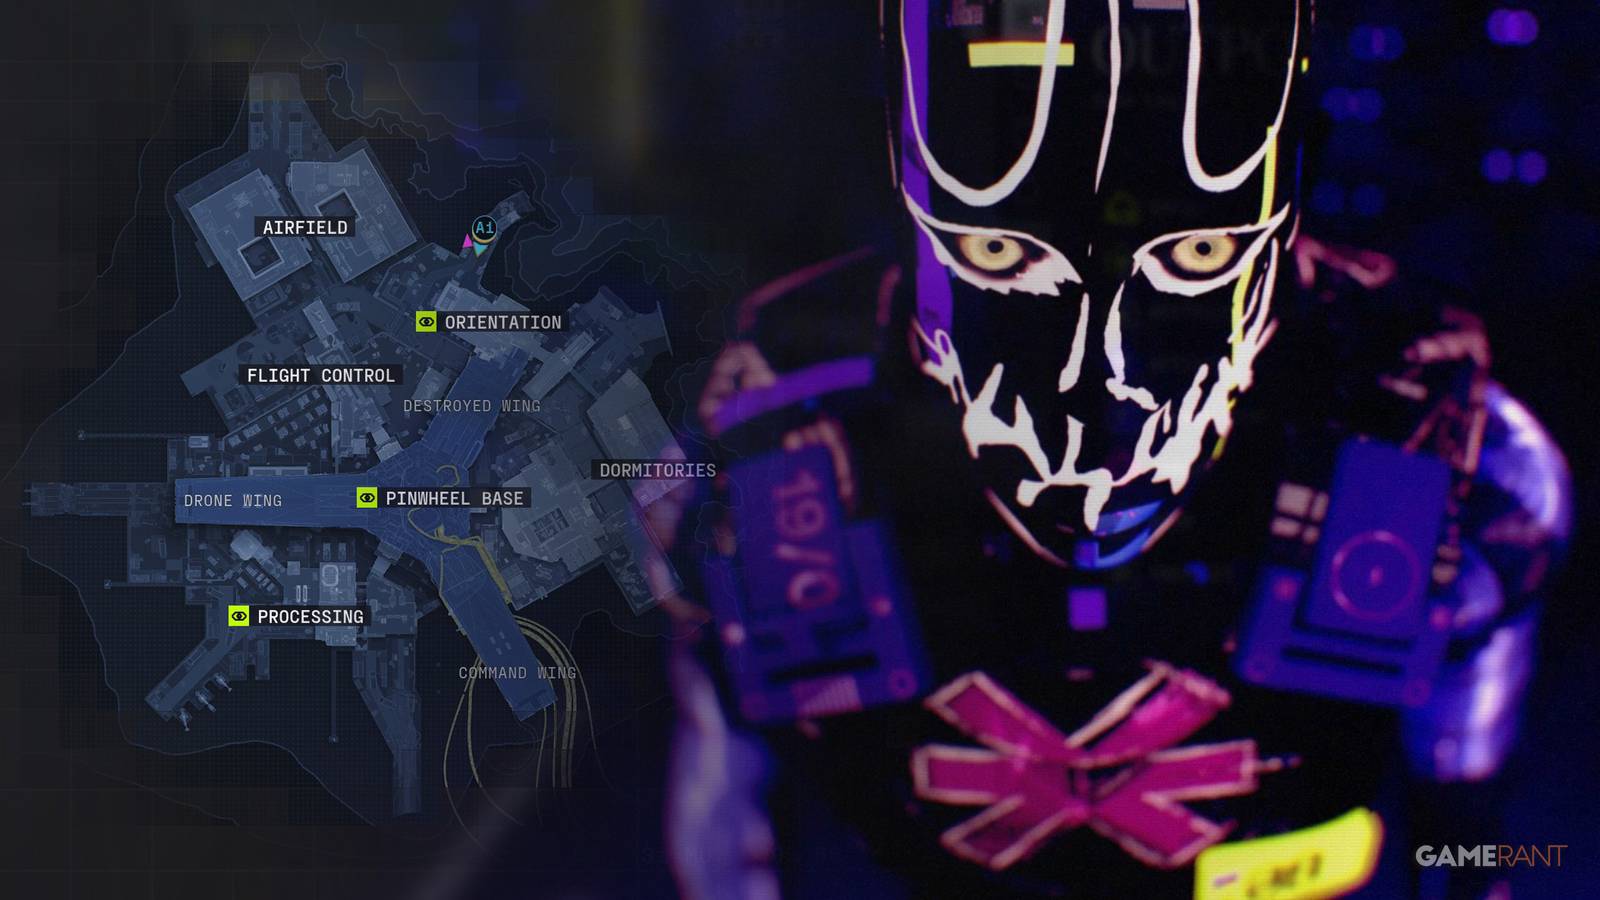
To find the key to the hidden stash, Go to the second floor of the dormitory cafeteria. On the northeast side of the floor, you'll see a door with a large number “18” next to it. Walk around the fixture in the middle of the room until you see the fixture on the wall
“The nightmare is real” text.
You'll see a slightly open locker nearby. Take a closer look inside, and you'll find it Key 18-452-136. The icon looks like other lockbox keys you've probably found in your races. However, this key is actually a priority item that opens a hidden stash.
Run/Hide is 4 CONTROVERSIAL AGREEMENTThis means only one team can complete it in any given race. If you get to this room in this dorm and don't see the key, it's very likely that the enemy team already has it.
Open the hidden stash
The hidden stash is not far from where you found the key. In fact, it is below you on the first floor.
Inside the main cafeteria area on the first floor, you will see the kitchen on the northeast side behind a plastic strip curtain. Go inside and into the kitchen Corner food storage room. This storage room has some containers to loot, but is tucked away and behind the shelves in the back of the room. The hidden stash.
Open the stash to find out Two sets of surveillance gear. Now, it's time to put the gear around the map.
Where to Plant Surveillance Gear in Run/Hide 4
For this next step, you need to go both ways flight control and Airfield and place surveillance gear in specific locations. As you are coming from the hostel, it is better to go to flight control first.
Inside flight control, go to the second floor and search the room Blue exterior walls and “NuCaloric” print. You will see the placement area as an indicator on your HUD when you enter a room. Enter the room, and place the surveillance gear on the wall to your left.
Now, go to the North Airfield and enter Western facility the building.
Inside the airfield, you will see a large room in the middle of the facility Black and yellow exterior walls. Enter this room and look up the white boards to find the placement area. Plant the surveillance gear on top of the white boards and get ready to head to orientation for the final step.
How to Activate Surveillance Gear in Run/Hide 4
Now that you've planted both pieces of surveillance gear around the map, you need to activate them. To do this, go to North of Roadside Checkpoint Orientation.
Across the street, you'll see a small building with white and green exterior walls. Go inside and interact with the small terminal on the table to start the activation. You'll be exposed to the glass windows when interacting with the terminal, but you can choose to close the window shutters for a little more privacy and security.
After a few moments, the surveillance gear will activate, and the Run/Hide 4 deal will be completed. Don't worry if you fail to Xfill – you'll still get credit for completing the contract. If you still have room in your inventory, you can use our Outpost interactive map to find the best locations for loot.
Reward for completing Run/Hide 4
Because this is a priority deal, you'll receive some hefty rewards for completing Run/Hide 4, including:
-
(2) Frag grenades
-
(2) EMP grenades
-
(2) Rescue the surveillance lens
-
(3) Deluxe implants
-
2,000 credits
If you're looking to get some Sekiguchi reputation, check us out Marathon Parasitism 1 Guide.

- issued
-
March 5, 2026
- ESRB
-
Juvenile/animated blood, language, violence, in-game purchases, user interaction
- Multiplayer
-
Online multiplayer, online co-op
