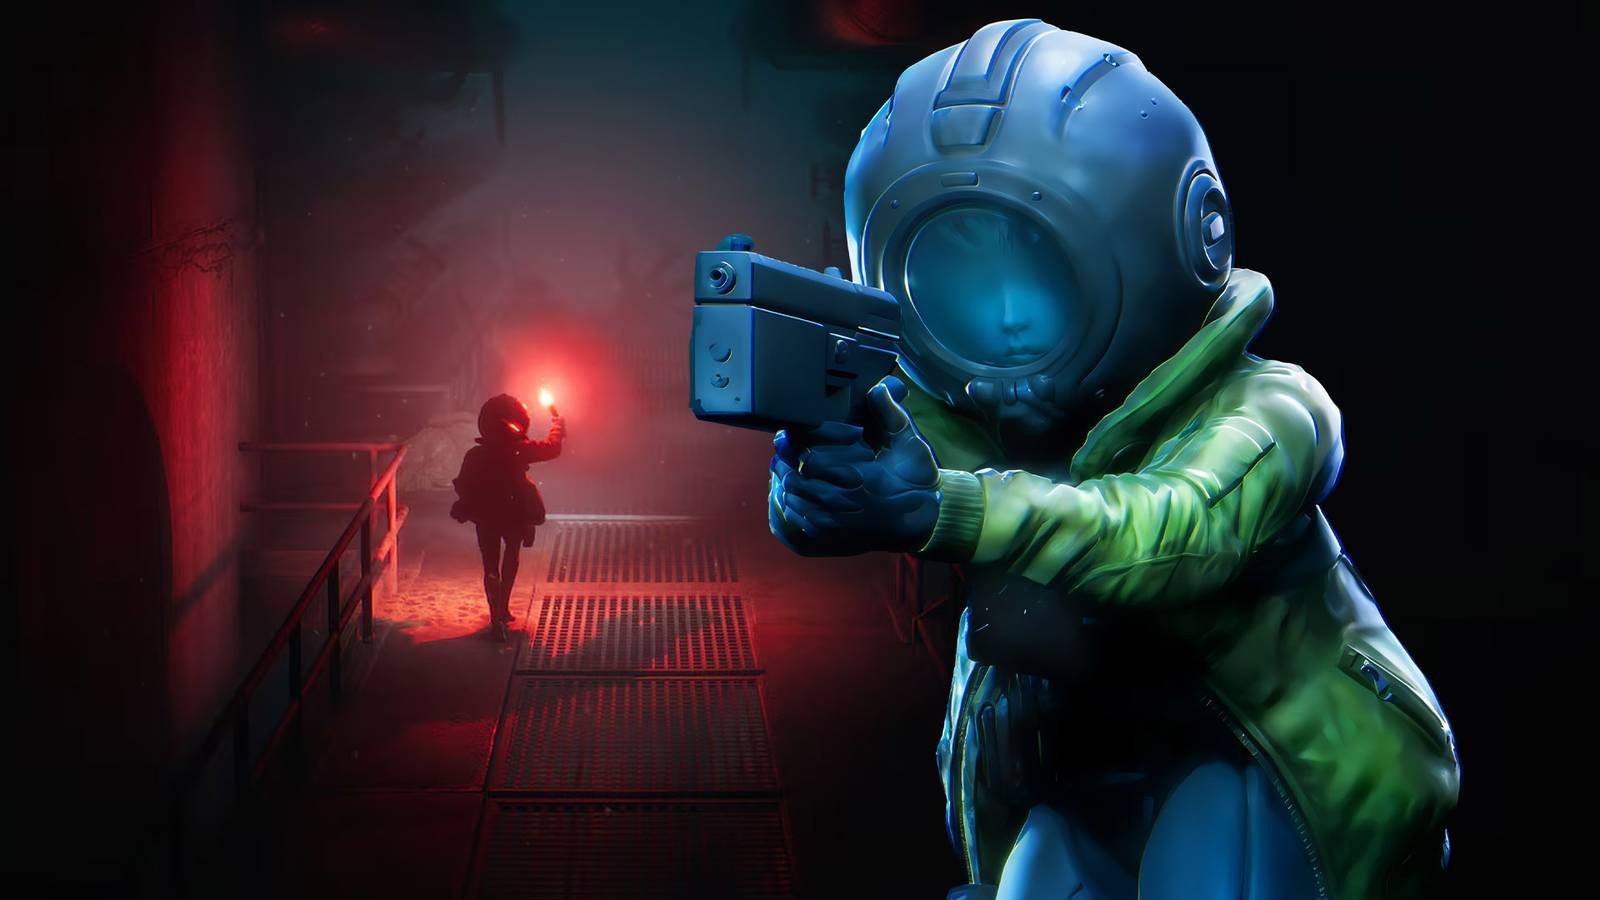
To beat End of Abyss, you must explore a variety of areas, including Factory East, Factory West, Waterworks, and the Containment Sector. In those areas, you must find keys, collect progression items, override SCUs, and more. This End of Abyss walkthrough will help you address those objectives and complete the game.
This walkthrough provides the most straightforward path to the end of the game. It’s highly recommended that you explore beyond the critical path, using this guide primarily if you are confused about how to progress.
Outer Sector
- Follow Soldier E-19 to learn about pulling levers and your Scanner.
- When you reach the room with the broken panel (where the Scanner tutorial occurs), approach the ledge at the top of the hole in the floor and jump down.
- Follow the path, breaking through crates, jumping off ledges, and crawling through holes.
- Climb the ladder at the end of the path, and pull the lever on the door on the left side of the room to let Soldier E-19 through.
- Continue following the soldier, and use your Scanner to find the two energy nodes in the wall when you reach the energy node door. Shoot the nodes to open the door.
- Ride the elevator and stick to the path to reach the Habitation Sector.
Habitation Sector (Part 1)
Unlock Habitation Door

|
1. Go through the door in the northeast corner to enter a Save Room. 2. Collect the Health Booster on the ground and use the Restoration Pod. Restoration Pods save your progress, act as respawn points, refill your health and Health Booster charges. They are also where you will change Suit Mods when the time comes. 3. Make note of the Workbench inside the Save Room. While this one is currently inactive, Workbenches, which appear in every Save Room, are ultimately where you will upgrade weapons and craft consumable items. |


|
4. Descend the stairs east of the Save Room, follow the path through B1, and ascend another flight of stairs at the end to access another part of F1. |

|
5. When you get to the top of the stairs, work your way southeast to reach a small room with a covered vent. 6. Remove the Ventilation Cover and crawl through the vent. 7. When you emerge, collect the Worker Access Keycard from the ground. |

|
8. Use the keycard to pass through the door on the left side of the room, follow the hallway all the way north, and head west until you return to the Habitation Sector entrance. 9. Use the keycard to open the door to the north, and follow the path to the Communication Center. |
Communication Center
Regroup with Crew & Activate Beacon

|
1. Descend the stairs and enter the room ahead to trigger a cutscene. 2. Interact with the SCU. |

|
3. Leave the room and climb the stairs. Keep climbing stairs and follow the path to reach the Control Room. 4. Use the map station on the west side of the room. Then stop by the Save Room through the door to the west. 5. Leave the Save Room, and descend the stairs in the northwest corner of the Control Room. |
|
6. Follow the path to reach the Power Conduits at the top of the Beacon. 7. Go through the door to the east and collect the Flare from the ground. 8. Continue along the path until you jump down from a ledge. Collect the Power Converter that is on the ground. 9. Leave the room through the southwest corner, and follow the path to a door that leads back to the Beacon. 10. Climb back to the top, and insert the Power Converter into the right terminal. 11. Return to the Control Room and talk to Soldier C-12 in the middle to get your next task: unlock the shuttle entrance. 12. Backtrack through the Communication Center to return to the Habitation Sector. |
Habitation Sector (Part 2)
Unlock Shuttle Entrance

|
1. Move south down the corridor, and pass through the first door on the west. 2. Follow the hallway until it intersects with a north-south hallway. Vault through the window on the east side of that hallway. 3. Collect the Riot Breaker from the ground inside. 4. Pass through the door on the east side of the room, and interact with the terminal on the desk to open the shuttle entrance. |

|
5. Backtrack to the corridor from Step 1. 6. Move north, and pass through the first opening to the east. 7. Descend the stairs, and beat the Hulk Cluster. |

|
8. Continue east to reach the shuttle station. 9. Interact with the Shuttle Control, enter the shuttle when it arrives, and ride to Factory East. |
Factory East (Part 1)
Reach the Reactor Core

|
1. Follow the path until you reach a rectangular room. There is a door near the southeast corner that leads to a Save Room. 2. Leave the Save Room, and pass through the door in the northeast corner of the rectangular room. 3. Follow the path to reach a small section of the Reactor. Collect the Factory Keycard on the ground at the end of the path. |

|
4. Return to the rectangular room, and use the keycard to open the door in the southeast corner. 5. Descend the stairs, and pass through the door on the east side of the room. |

|
6. Head to the southeast corner of the next room, and pass through the door you find there. 7. Climb the ladder in the next room, and head through the door to your east. |

|
8. Head north, and pass through the door on the west. 9. Follow the path, climb the ladder, and walk straight across the scaffolding to reach another Save Room. |

|
10. Leave the Save Room, follow the corridor north, enter the east door, and climb the ladder to enter the Ventilation Tunnels. |
Ventilation Tunnels
-

-
Make these movements to reach a ladder that leads down into the Reactor: south, west, north, west, north, second east, north, west, north.

Reactor
-

-
1. After descending the ladder, go west then south and collect the Grenade on the ground.
2. Follow the path, passing by a Save Room, until you reach the reactor.
3. Go inside, ride the elevator up, and interact with the Reactor Core Controls.

Activate Power Cells

|
1. Ride the elevator back down, exit the reactor, and go behind it. 2. Use the elevator you find there to travel to B2. |

|
3. Interact with the Power Cells on the east and west sides of B2. 4. Use the elevator near the western Power Cell to travel to B3. |

|
5. Follow the path all the way down to the southwest corner, where you will find a room with a lockdown encounter. |
|
6. After defeating all the enemies, return to the corridor just east of that room. An enemy will come through the floor. 7. Enter the hole the enemy came through, and follow the path to the room north of the lockdown encounter. 8. Interact with the Security System Terminal to unlock security doors. 9. Go back to the elevator you used to reach B3, and ride back up to B2. |
|

|
10. Enter the room in the middle of B2, interact with the final Power Cell, and defeat the Centipede Husk. |
Reactor Core
- Return to the Reactor Core Controls inside the reactor, and interact with them to power the reactor.
Regroup with Crew
Factory East (Part 2)
-

-
1. Make your way back to the rectangular room.
2. Pass through the door in the southeast corner.
3. Descend the stairs and go west to encounter Soldier E-19, trigger a cutscene, and get your next objective: override three SCUs and unlock the central elevator.
4. Pass through the west door to travel to Factory West.

Factory West (Part 1)
Get the Mechanical Crank & Energy Cell #1
Before pursuing the Factory West SCU, take a brief detour to collect the Mechanical Crank in Maintenance:
Maintenance
-

-
1. Follow the path around to the northwest corner of Maintenance to find the Mechanical Crank. Make sure to open the Large Item Box in the room with the Sealed Hatch on your way. It contains an Energy Cell, which will increase Suit Power by one.
2. Backtrack to Factory West.

Factory West (Part 2)
Override Factory West SCU

|
1. Back in Factory West, follow the path west and use the Mechanical Crank to extend a bridge. |

|
2. Continue along the path, passing through a Save Room, to reach an Energy Node Door. Use your Scanner to locate the three Energy Nodes, and shoot them to unlock the door. 3. Continue southeast to reach an elevator. |

|
4. After riding the elevator, go southwest and extend a small bridge. 5. Follow the path to get to the upper level of the Save Room. Continue along the scaffolding to reach a small platform with a terminal that extends a bridge below you. |

|
6. Go back into the Save Room, extend the ladder, and climb down. 7. Pass through the door on the east, head north across the bridge you just extended, and complete the lockdown encounter. 8. Go through the west door, and collect the Explosive Charge from the workbench in the small room. |

|
9. Backtrack to the Save Room, and cross the small bridge just to its west. 10. At the end of the bridge, go northwest to reach a dead end with a weak wall. Use an Explosive Charge to destroy it. 11. Follow the path northwest to get to a room with an unreachable ladder. Destroy the crates in this room to reveal a floor hatch you can open. |

|
12. Descend through the hatch, head north, and open the vent on the east wall. 13. Crawl through the vent, and follow the path east to reach another Save Room. 14. Return to the room just west of the Save Room, and descend the ladder. |

|
15. Follow the path to get to the room connected to the room you just descended through. Use an Explosive Charge to destroy the weak floor here. |

|
16. Drop through the hole, follow the path, and beat Security Sentinel. 17. Go through the east door, and follow the north path to reach the room with the Factory West SCU. Interact with it. |
Get Energy Cell #2
You should now make a brief detour to get a second Energy Cell. This will give you a total of four Suit Power, allowing you to equip an important Suit Mod later in the game:

|
1. Leave the room and extend the bridge to the east. 2. Follow the path back towards Maintenance, but don’t go into that area. Instead, follow the path west until you get back to the Save Room where you extended the ladder. |

|
3. Climb the ladder and follow the path to the bridge you extended in Step 4. |

|
4. Use an Explosive Charge on the wall just southwest of that bridge to access a small room. 5. Use another Explosive Charge on the wall in the southwest corner of that small room and crawl through the hole. 6. Open the Large Item Box to get a second Energy Cell. |
|
7. Backtrack to the path from Step 2, and use the east path to return to Factory East. |
Factory East (Part 3)
-

-
1. Head east to pass the Central Elevator, and continue east.
2. In the next room, pass through the door in the southwest corner and descend the stairs to reach a ladder that leads to the Waterworks.

Waterworks
Override Waterworks SCU

|
1. Follow the path east to reach a corridor with rapidly moving water. 2. Go northeast across the water, and climb the stairs. 3. Follow the path through the room with the Pump System Operations Manual note, and go through its east door. 4. Follow the path east, then head northwest to reach a bridge you can extend. 5. After the bridge, go north and through the east door. 6. Stop by the Save Room, and then pass through the door directly across from it. 7. Complete the lockdown encounter, and continue west until you reach an open flooded room. 8. Go through the door in the southeast corner. 9. Continue moving southwest to reach a room where you can climb onto some metal walkways. 10. Pass through the door in the northeast corner and collect the Operations Key from the workbench in the small room. |

|
11. Return to the metal walkways, and pass through the door just south of you to reach a path that leads to a Save Room. 12. Return to the metal walkways, re-enter the water, and leave the room through the east. 13. Continue southeast, using the Operations Key to unlock a door and to reach a ladder you should climb down. |

|
14. Follow the path to reach another ladder. Climb down and pass through the opening to the north. 15. Beat Drowned Husk. 16. Go through the door in the northeast corner, and interact with the terminal to stop the rapidly moving water from the beginning of the level. |
|
17. Backtrack to the area with the rapidly moving water. |
|

|
18. Get in the water and continue north, climbing up a small ledge. 19. Follow the path to reach an elevator that leads to the room with the Waterworks SCU. |

|
20. Make your way back up to B3, and navigate to the room on the far east side. |
|
21. Perform these actions in this room: – Interact with the terminal on ground level to lower a barrier in the water. – Walk over the top of the barrier, climb the stairs, and interact with the terminal at the top to lower another barrier. – Return to the first terminal and interact with it to raise the barrier and evacuate the water. 22. Climb down the ladder into the now empty pool and follow the path to the Containment Sector. |
Containment Sector (Part 1)
Before pursuing the Containment Sector SCU, you need to spend some time getting set up with the Radiation Protection Suit Mod, which will protect you while exploring the Containment Sector:
Get the Radiation Protection Suit Mod
-

-
1. After climbing up the ladder from the Waterworks, head all the way west and collect the Basement Keycard from the ground to the right of an extendable bridge. Notably, you will take some radiation damage while you’re moving through the Containment Sector.
2. Extend the bridge and head west into Factory East.

Factory East (Part 4)

|
1. Follow the path west to reach a ladder to F1. Climb down. |

|
2. Go east, and descend the stairs to B1. |

|
3. Pass through the room to the east, and descend the stairs in the northwest corner of the next room. |
|
4. Climb down the ladder to reach B2, head south, and use the Basement Keycard to enter a room with a lockdown encounter. 5. Go into the small room to the west and collect the Radiation Protection Suit Mod from the ground. 6. Backtrack to the Containment Sector. |
Containment Sector (Part 2)
Override Containment SCU

|
1. Visit the Save Room, and use the Restoration Pod to equip the Radiation Protection Suit Mod. 2. Pass through the room to the west, go north, and ascend the stairs to the east. |

|
3. Go north and then pass through the door to the west. 4. Follow the path west until you reach a ladder that you can climb. |

|
5. Head east until you reach a ladder that you can extend. 6. Interact with the lever on the wall just east of the ladder to open the door below you. |

|
7. Climb down the ladder, and head east through the door. 8. Follow the path to reach an elevator in the southeast corner of the room with the Isolation Cistern. |

|
9. At the bottom, follow the path west, then north, then east to reach a ladder that you can climb to reach another section of F2. |

|
10. Follow the path west, then south, then east to reach a ledge you can drop from. 11. Complete the lockdown encounter in the room. 12. Pass through the door on the east side, and collect the Grappling Hook from the table. 13. Use the Grappling Hook to extend the ladder in the northeast corner of the room where the previous lockdown encounter occurred. |

|
14. Pass through the room to the east, then climb the stairs to the south. 15. Interact with the lever on the post to activate anchor points, and use your Grappling Hook to attach to the point across the gap. 16. Head south, go west at the top of the ladder you extended in Step 6, and climb down the ladder at the end of the path (the one you climbed in Step 4). |

|
17. Go to the southwest corner of the room, and use the Grappling Hook on the anchor point across the gap. 18. Follow the path west, north, east, and use your Grappling Hook to cross another gap. 19. Go north immediately after crossing the gap and follow the path west into the next room. 20. As soon as you enter, use your Grappling Hook on the anchor point to the north, pass through the door on the east, and stop by the Save Station. |

|
21. Leave the Save Station, return to the room to the west, and descend the stairs. 22. Go to the southwest corner of the room, and use the Grappling Hook to extend an elevated ladder. |
|
23. At the top, pass through the door to the west. |
|

|
24. Follow the path in the next room to the door in the northwest corner. 25. Continue along the path to reach a lever that extends a bridge. 26. Interact with the lever on the next platform to extend two more bridges. 27. Cross the north bridge, and stop by the Save Room in the northeast corner. |

|
28. Head west through the door across from the Save Room, and complete the lockdown encounter. 29. Continue along the path to reach a lever that raises anchor points beneath. |

|
30. Continue to ascend to reach an elevator. |

|
31. Go northeast at the bottom to return to the room where you extended multiple bridges in Steps 25 & 26. Pull the lever on the east side of the room. 32. Ascend the stairs to the north, and drop from the ledge at the end. 33. Cross the bridge to your west, and interact with the lever to retract it. 34. Return to the ledge from Step 32, and drop again. You can now use your Grappling Hook on the anchor point across the gap. |

|
35. Climb down the ladder, and follow the path east, south, west, south to reach another ladder. |

|
36. Climb the ladder, and drop from the ledge at the end of the platform. 37. Interact with the lever to the west to extend a bridge below you. |

|
38. Go east, drop through the gap in the fence on the west side of the path, and head west across that bridge. 39. Climb the ladder on the west side of the bridge. 40. Use your Grappling Hook on the lever across the gap to the east (the one you interacted with in Step 37) to extend a bridge. 41. Cross the bridge and follow the path to reach an elevator that you can use to quickly return to a Save Room. |
|
42. Return to the elevator and continue into the Isolation Cistern. Drop through the hole in the ground. 43. Defeat the Radiation Host. 44. Pass through the door to the east, climb down the ladder, and follow the path to the Containment Sector SCU. |
|

|
45. Leave the room, and follow the path to reach the elevator you used in Step 8. |

|
46. Make your way to the southeast corner of F2 and use the Shuttle to return to Factory East. |
Factory East (Part 5)
1. Return to the Central Elevator on F1, and use it to descend to the Lower Levels.
Lower Levels
Unknown Signal
|
1. Follow the path to trigger a cutscene. |
|
|
2. Pass through the west door that opens. |
|

|
3. Follow the path down to reach the Mainframe on B3. |
Release Protocols

|
1. Leave the room with the mainframe, go west, and follow the path north to the Energy Node Door. Use your Scanner to find the Energy Nodes in the preceding room, shoot them, and complete the lockdown encounter. Then pass through the Energy Node Door and interact with the lever to release Protocol A. |

|
2. Pass back through the Energy Node Door, and go east. Use the elevator in the next room to descend to B4, and collect the Utility Tunnels Key from the ground on the east side. |

|
3. Backtrack to the west, then head south until you reach the stairs that lead to B4. Use the Utility Tunnels Key to access the area, and follow the path to reach the east side of B3. |

|
4. Follow the path to reach another Energy Node Door. Use your Scanner to find the Energy Nodes in the preceding room, shoot them, and complete yet another lockdown encounter. Then pull the lever in the room beyond the Energy Node Door to complete the objective. |
Return to Mainframe
1. Return to the Mainframe to trigger a cutscene.
Neural Chamber

|
1. Use the elevator in the southeast corner of B3 to return to F1. |

|
2. Go all the way east to find an elevator that will take you to B2. |

|
3. Follow the path east, south, west, and climb down the ladder on the west side of the room. Collect the Level I Access keycard from the ground at the bottom. |

|
4. Climb back up the ladder. Head east, north, west, north, and use the keycard to open the door in the northwest corner. Climb the stairs in the next room to reach B1. |
|
5. Follow the path to reach an elevator that will take you to another section of F1. |
|

|
6. Pass through the north door, and follow the path to a Save Room. You’ll find a lockdown encounter and the Incinerator along the path. |

|
7. Exit the Save Room, and follow the path east. Pass through the door in the northwest corner of the room, then head west, north, east. Use the Incinerator to burn through the Parasitic Growth on the north wall, and follow the path to the Failed Experiment. Defeat the boss and collect the Neural Chamber Access card from the room to the west. |

|
8. Backtrack to reach the door that is opened with the card. Stop by the Save Room on the east side before heading north and defeating the Fractured Being. |

- Released
-
October 1, 2026
- ESRB
-
Teen / Blood, Violence
- Developer(s)
-
Section 9 Interactive
- Engine
-
Unreal Engine 5
