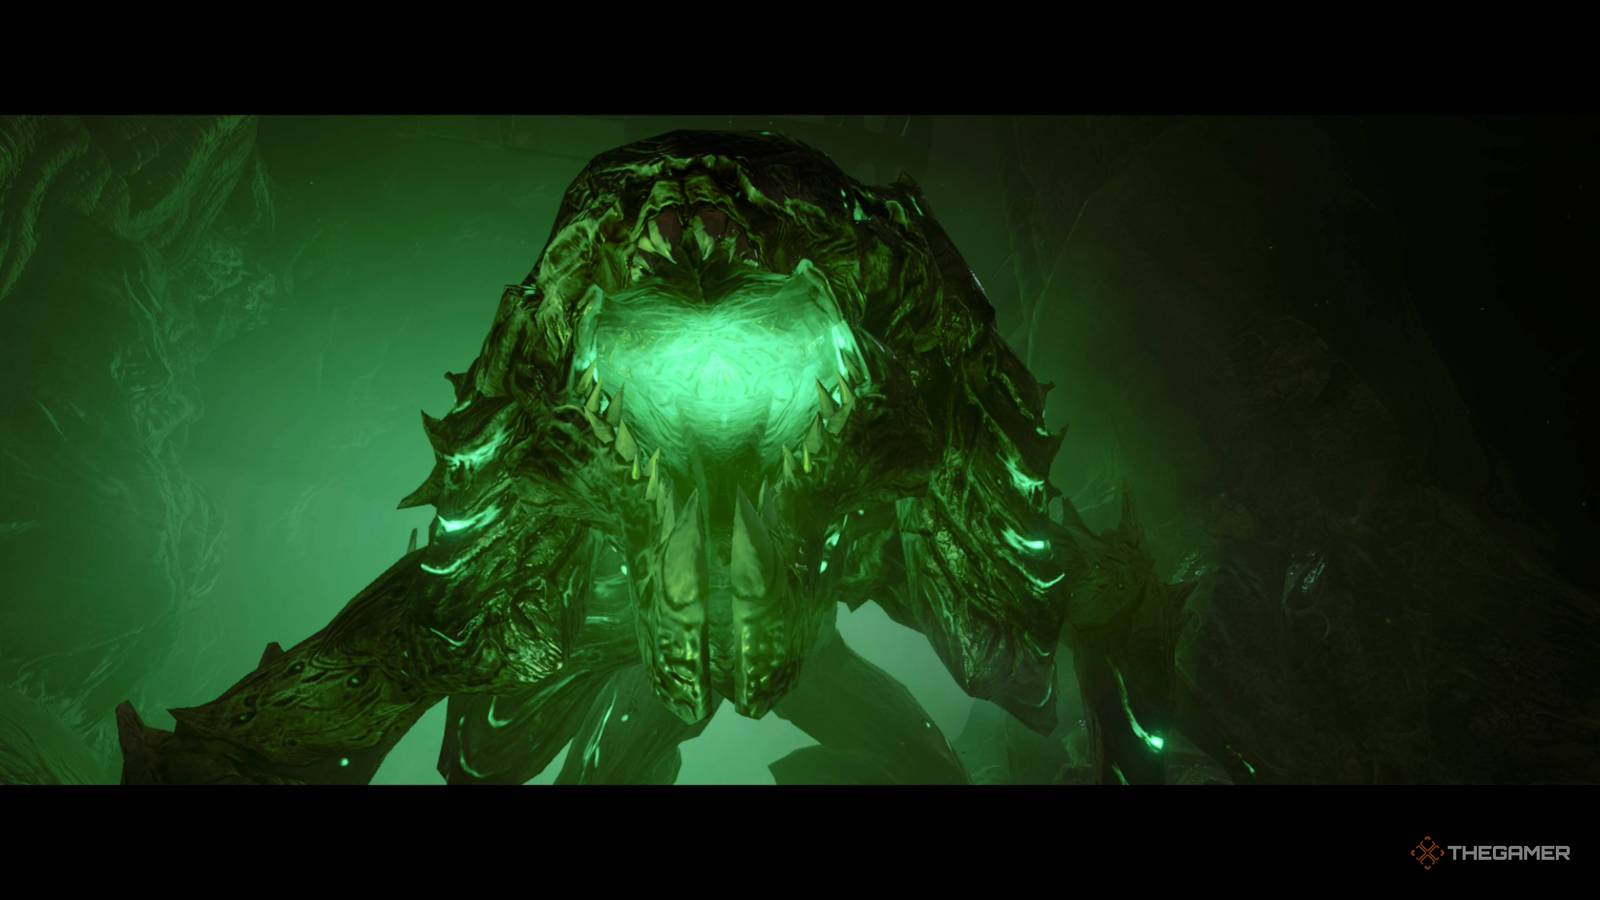
in Metroid Prime 4: BeyondYou'll encounter enemies both familiar and brand new, from the iconic Dartwings to the disgruntled Grievers. But just like in previous games, enemies are not just obstacles in your way. They are as much a part of the world building as anything else.
And they are also something of an enigma. The Metroid Prime games aren't strictly shooters, so it's less about taking down enemies stylishly, and more about figuring out all the different ways you can take them down effectively. And with a few more enemies and tools at Samus' disposal, there are a few ways to take them down.
How many types of enemies are there?

Each area of the game has its own unique enemies, Like Fury Green's Bristlewort or Flare Pool's Leaping Spitter. However there are many enemies shared across all areas, such as maintenance tanks and mourners. In the case of the Grievers, they are also regional variants of the original that look slightly different from each other, but ultimately function all but the same.
There are also some enemies in the game More of a stage threat than actual enemiesYou'll want to be careful with your feet and take time to look around, instead of charging through every room and going head first into an electric enemy.
So for that purpose, we've excluded those favorites, and are focusing only on those enemies that are completely different from each other, and the strategies that you can use against them, Giving you a total of 20 different enemies. If you count all of them, including original and regional variants, that number is huge.
We've also excluded owners because they deserve full guides In their own right, which we have for all of them if you're willing.

Metroid Prime 4: Beyond – Psychic Power Bomb Expansion Locations Guide
More bombs = more explosions.
How to defeat every type of enemy

Like previous Metroid Prime games, Enemies are as tense a firefight as they are a mini puzzle. Here are all the major enemies in the game, and how to take each of them down.
Unless otherwise specified, Elemental and regional forms of enemies are excluded They are functionally identical to their regular counterparts.
|
the enemy |
How to beat them |
|---|---|
|
mourner |
Standard enemies throughout the game. They're fast and elusive, so sometimes free-aim can help you land more consistent shots than lock-on. |
|
Mauler Griever |
Found in the Great Mine. Like regular mourners, but can also spit acid. There are also explosive variants that will rush you and explode, summoning more mourners. Freeze these and destroy them to prevent explosions. |
|
Ghaspore |
Summon homing spores, which can be taken down normally. Fire when the spores are exposed, or fire missiles to destroy them at all times. |
|
Gaura Ghaspore |
A ghaspore variant is found in Great Mines. Summons homing spores that cannot be destroyed normally, nor can Ghaspore himself. Instead, you have to shoot the spore back at Gaura Ghaspore, causing both to explode. |
|
Shren |
Small flying enemies that attack in swarms. As long as their nest is active, there will be eggs. Take out the nest with missiles or thunder shots. Fire shots will destroy the nest, but it will spawn several more shrines before it burns. |
|
Bristolwort |
Relatively passive enemies, however, will shoot needles at you if provoked. Attacks can only be made when the projectile is fired and its back is open. |
|
Snow Wolf |
Found only once when first entering the ice belt. Can be taken out quickly with Fire Shot. |
|
Dartwing |
Usually hang from the ceiling in groups, approaching each other. Can be taken down in just one or two hits from the beam cannon, lock-on and fire them quickly. |
|
A lapping spitter |
Only found around the lava of the Flare Pool. Just immobilize them, or take them out with Vi-O-La's homing attack. |
|
pyremite |
Found in the Flare Pool, and will rush you in groups and try to explode. Freeze them with ice shots and defeat them this way to prevent the explosion. |
|
Behemoth |
A single enemy was found in the Flare Pool. It can only be damaged by shooting at its eyes. |
|
Maintenance tank |
Plenty throughout the game. For all versions, locking on and then aiming slightly upwards at the head will do more damage, so use charged shots instead. |
|
Lamorn Tower |
Can be easily taken down with a single charged shot, though a strong one can take two. Alternatively, fire Thunder Shot to stun them and then quickly defeat them with Psychic Lasso. |
|
Cy-Bot Soldier |
Vaulted Forge abounds throughout. Thunder Shot is useful for extra damage, however using Ice Shot will cause them to fall to the ground while they are flying, taking heavy damage. |
|
Cy-Bot Shield |
Dodge behind them when they charge you. Once you get the psychic lasso, just move the shield away completely. |
|
Cy-Bot Shocker |
These guys are a bit slow and will constantly shoot shock waves. Just keep jumping and unleash your strongest attacks against them. |
|
Cy-Bot Teleporter |
They fire a powerful X attack at you and constantly teleport around. Track them with the radar to see where they stop and use Ice Shot to freeze them, giving you more time to deal damage. |
|
Cy-Bot Gunner |
They summon orbs that aid in their attacks. Always take these down to slow down the gunner, and otherwise use your strongest attacks against them. |
|
Aeronaut |
Found in Soul Valley, they follow Samus and drop bombs on the ground that deal high damage. Use a homing attack with the Vi-O-La to knock them out of the sky, and then use a sliding boost to knock them out quickly. They'll sometimes move away from you, so hit them with homing attacks when they get close to put them down. |
|
Maurader |
Rolling wheels that follow Samus in Soul Valley, usually in groups of two or three. After hitting, you may be able to simply out-speed them, but otherwise increase sliding to defeat them. |
There are a few other enemies in the game, but they are fairly passive Not really an attack patternSo there is no technique to get them out.

Metroid Prime 4: Beyond – Ceremonial Chamber Door Puzzle Solutions Guide
Lord of all three elements.
