The final phase of the operation: King Killer Inn Black Ops 7 Endgame is definitely a head-scratcher for players unsure of how to complete its objectives. From completing the Terminal Vector activity to defeating the Prime Target Glitch boss, there's plenty to tackle. here it is Full Walkthrough of Glitch Stage: Prime TargetHow To Beat Every Glitch Boss In Fast Black Ops 7 end game.
Glitch Step: Command Killer Black Ops 7 Endgame Guide (Free Camo, Skins, and More)
Black Ops 7 players can earn free camo, operator skins and more by completing the Command Killer glitch in Endgame. Here's how.
Objective #1: Complete the terminal vector activity
To complete the terminal vector activity, you first need Find the encryption key. You can get by one Defeating a DAWG or Rhino during a surprise shipping activity in a Tier IV zoneor by Defeating a Titan in a guild stronghold within a Tier IV zone.
Once you have the encryption key, the terminal vector activity will spawn in the map, either Building south of High Town or in Heli Port. Go to the terminal vector activity while carrying the encryption key at any POI and Interact with the command node to trigger the activity.
From here, you will need Complete a total of four different waves inside the building Where the terminal vector activity was triggered. Here's a rundown of each:
- Lockdown Imminent (Stay in Area): Stay inside the area until the timer reaches zero. During this time, enemies will be dropped into the area via VTOL. Eliminate them to reduce the number of enemies you have to face during the next wave.
- Lockdown (Destroy Firewall Modules): Several firewall modules will appear around the walls of the building. Destroy each one before the timer reaches zero. You can scout their locations in the upcoming phase of lockdown to save time. All guild bots in the area will be active during this stage, so be sure to deal with them as well.
- Protect the command node: Return to the command node (terminal) and stay within the blue zone while defending against incoming enemies. Fill the progress bar before the time runs out.
- Avoid the attack: Survive against waves of enemies until the timer reaches zero. I managed to accomplish this by staying in a room with only one entrance, making it very easy to eliminate enemies. Keep in mind that the objective is simply to survive, as enemies will continue to spawn until the timer expires.

Once you complete all four waves, Prime Target Glitch Fracture will be unlocked for all future gamesThis eliminates the need to repeat the activity.
Glitch Step: Virus Injection Black Ops 7 Endgame Guide (Free Camo, Skins, and more)
Black Ops 7 Endgames Operation Broken Mirror is a breeze until the final stage. Here's how to complete the Glitch step: Virus Injection, fast.
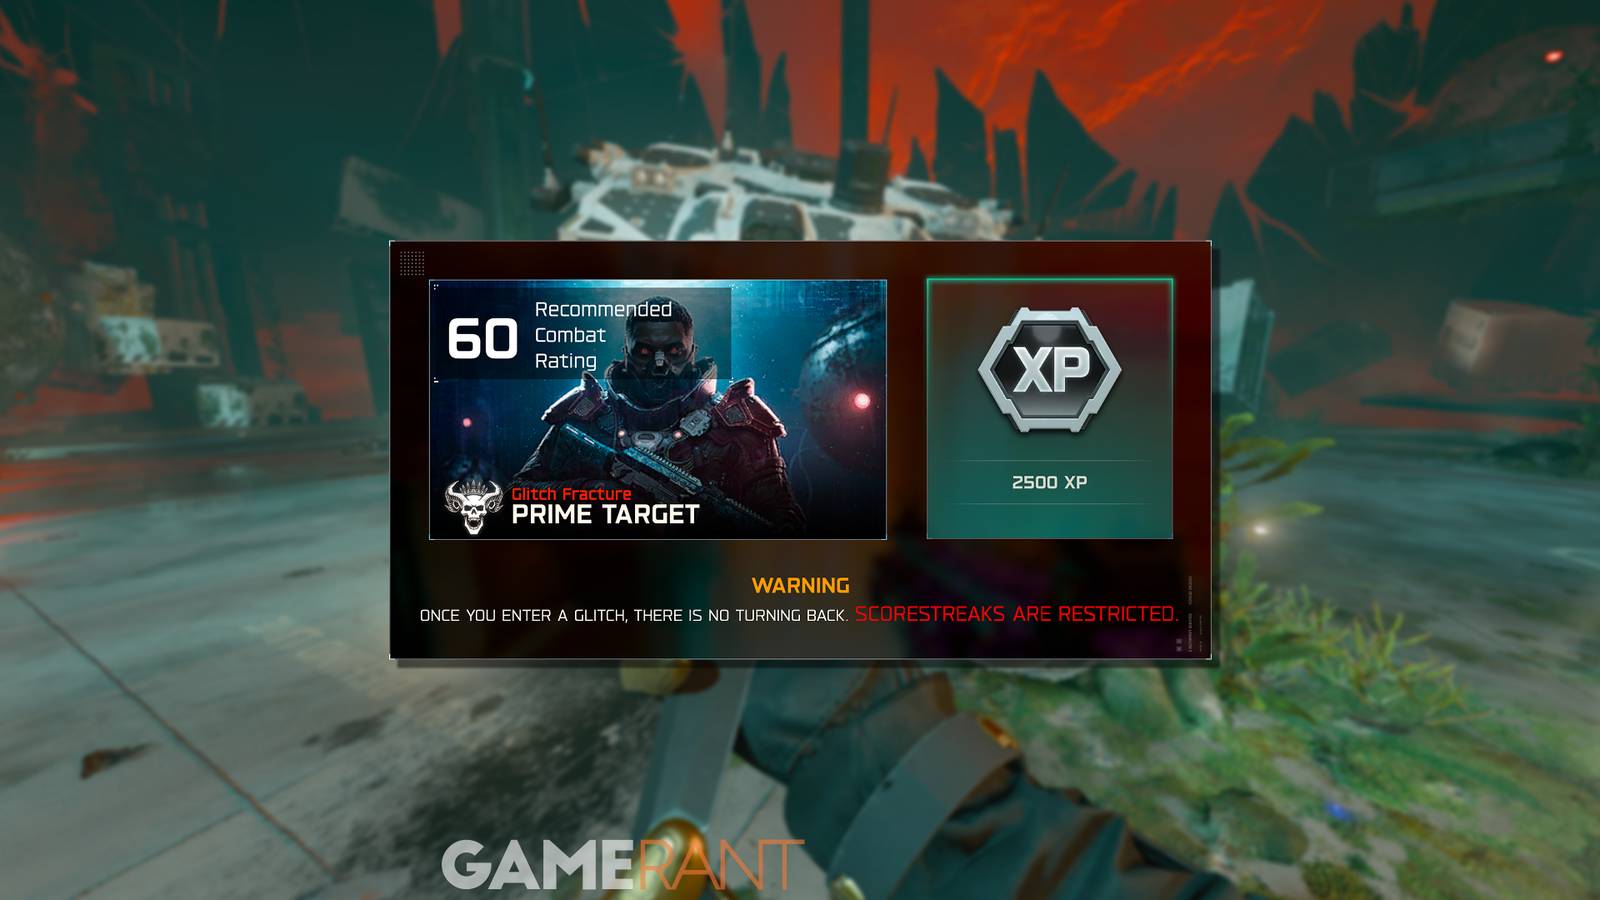
Objective #2: Enter the Prime Target Glitch and defeat the Glitch Boss
Prime Target can be glitchy Found on the southern island of Coastal Security. Before going there, I recommend using an operator A combat rating of at least 60, At least with A fully upgraded alien weapon. Once you arrive at the glitch, interact to enter it.
I recommend it too Equipping your tactical EMP grenade, The Ability to crash cart if you are playing soloor Having a teammate with the Ballistic Shield ability If you're on a team. Within Prime Target Glitch, you need to defeat three glitch bosses in three different glitch sectors within a time limit. Here are the best ways to remove each one, fast.
Glitch Sector 1: How to beat HZRD-666
In this area, you will face off against a boss version of the Rhino Elite enemy. To inflict the most damage, Aim for the center of the enemy's head to land critical hits. Use cover to your advantage, be aware of spreading other enemies, including unknown entities that can trap you, and Use your EMP grenades to momentarily stun the HZRD-666 So you can deal uninterrupted damage.
At certain points, the HZRD-666 will be immune to damage. when this happens, Eliminate the enemies marked in yellow and return the shards that drop to the area in the middle of the sector. In order to weaken HZRD-666 again you will need to collect four shards or eight teams in a single match. Repeat this process until HZRD-666 is defeated.
Glitch Sector 2: How to beat X9-Hellcore
To defeat X9-Hellcore, you need to first Debilitate the Glitch Boss by capturing the area marked on your HUD. To do this, stay inside the area and defend against waves of enemies until it is completely captured. Be sure not to trap yourself. Since most of the enemies are unknown entities and guild bots, you can stun them with EMP grenades.
Once X9-Hellcore is unsecured, I recommend it Heading directly below it. This way, it can't hit you with any of its projectiles. Fire continuously at X9-Hellcore to deal as much damage as possible Until it becomes impenetrable again. Capture another area and repeat these steps until its health reaches zero.
Glitch Sector 3: How to beat D3M-ON
To defeat the final boss, D3M-ON, I recommend first Going to each of the sentry turrets outlined in yellow and activating them Before the master was born. This will put unknown entities behind you. Be sure to take the time to reactivate them in an encounter, as they only stay active for a short period of time.
From here, it's up to you to beat D3M-ON Sufficient damage must be dealt. During my playthrough, I couldn't find a significant weak spot, so firing anywhere will do the trick. You're also unable to get close to the boss or stun with EMP grenades, so keep that in mind. During combat, D3M-ON will use a variety of attacks and moves. Here is each and how to deal with them:
- Standard Ranged Turret Attack: This is the most basic attack using D3M-ON. Be on the move, as it is notoriously inaccurate, when continuing to fire on the boss.
- Laser Attack: At the start of each stage, D3M-ON will fire a laser that can stun you. Stay behind cover to avoid this. With the laser pointed in the opposite direction, take the opportunity to fire at the D3M-ON.
- Rocket Attack: It comes in two forms. The first D3M-ON is a burst of three rockets fired after jumping across the arena, which you can avoid by sidestepping or taking cover. The second is a barrage that targets marked locations while in the arena. Keep these rockets to the side to avoid taking damage.
- Leap Shockwave: This happens when D3M-ON jumps out and returns to the center of the arena. Make sure you are airborne when the shockwave lands to avoid damage.

Once you deal enough damage, D3M-ON will be defeated. This will complete the Prime Target Glitch, giving you the ultimate rewards for Operation: King Killer, the Nightmare skill for your operator.
All Glitch Stage: Prime Target Rewards in Black Ops 7 Endgame

|
reward |
Objectives |
|---|---|
|
 Coolant Leak Diagram  In a grave calling card |
Complete all the previous Operation King Killer stages and the following objectives:
|
|
 Samuel Data Freeze Skin |
Defeat the Prime Target Glitch boss as Samuel |
|
 Wei Lin data freeze skin |
Defeat the Prime Target Glitch boss as Wei Lin |
|
 Kagan date fridge leather |
Defeat the Prime Target Glitch boss as Kagan |
|
 End of Daze Camo |
Unlock a data freeze operator skin |
|
 End of Dayz Camo |
Unlock all three Data Freeze Operator skins |
|
 A targeted down calling card |
Complete the Prime Goal Glitch solo |
|
 Juked calling card |
Defeat the Rhino in Prime Target Glitch without surprising anyone |
