Call of Duty: Black Ops 7 Season 4 brought Operation Wall Breaker to Endgame, the first of the last missions players could complete. In Act III, players can undertake a series of objectives, culminating in commanding the Killer Glitch to take on another Glitch boss to earn free camo. Here is your guide Completing Final Stage: Glitch Stage: Command Killer In Black Ops 7 end game.
All Illegal Cargo Camo event rewards in Black Ops 7 and Warzone
Black Ops 7 and Warzone players can earn Cherry Fizz Camo and more through the Illicit Camo event running for a limited time. Here's how.
Before attempting any of these objectives, be sure Be at least a combat rating of 60 or higherEven later Having at least one foreign weapon.
Objective #1: Complete the Captured Convoy activity
For the first objective, you need to complete the Captured Convoy activity. This activity is similar to regular Convoy Activities, only They appear as a red vehicle icon on the map instead of green. These are usually After defeating the guild strike boss, and a nightmare area is spawnedand will patrol the map in random locations.
Here's what you need to do to complete this activity Destroy all three captured cargo vehicles. The easiest way to do this is to kill the driver and other enemies inside before using any tools or weapons at hand to destroy each vehicle.
Once you destroy the third vehicle, A Zursa HVT owner will be spread over this area. Kill this boss to complete the Captured Convoy activity. This Zursa Boss acts like in Zombies, so Aim for the glowing honeycomb weak spots to dish out critical damage. Also, be sure to take out a bunch of Zom-Bees from Zursa often to make the fight easier.
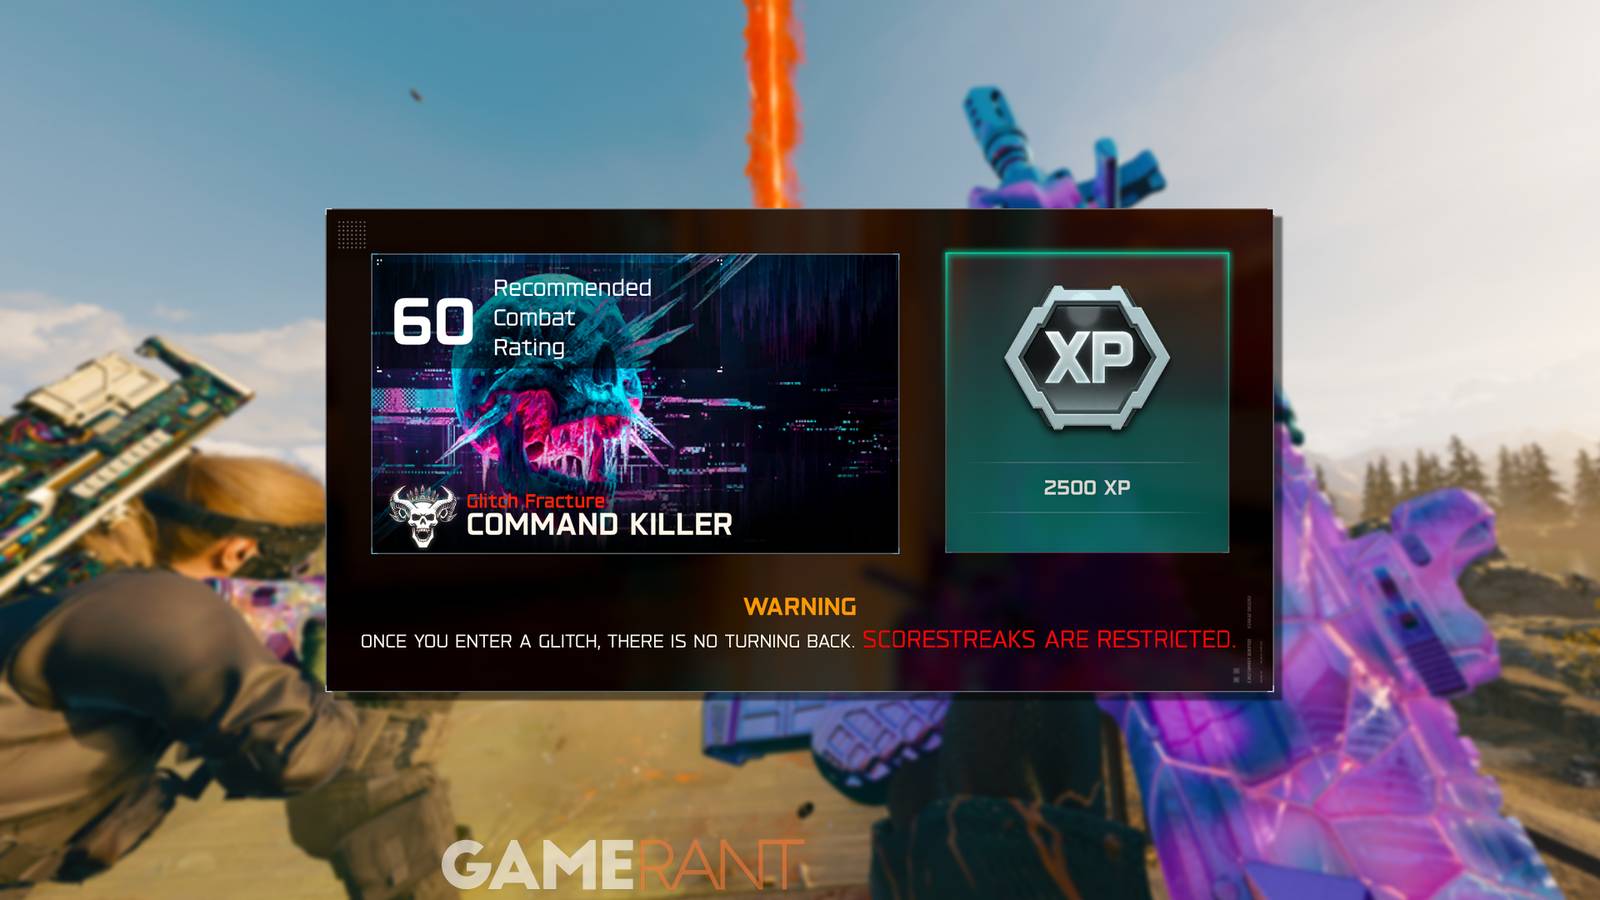
Objective #2: Enter Command Killer Glitch and defeat the Glitch Boss
Once you've completed the Conquest activity, Command Killer Glitch will spawn on top of a high-rise building in High Town. Go to the Glitch and interact with it to take it to the Command Killer Glitch.
Once you're in Command Killer Glitch, you'll need it Complete six different glitch waves spread across three glitch zones. You only have a limited amount of time to do each, and a timer will appear on-screen so you can keep track of your progress. Here's a walkthrough of each, along with the final glitch boss fight:
Glitch Wave 1: Kill the enemies to analyze the sample
In order to complete this Glitch Wave, you will need to survive three total waves to evolve the area specimen from Scourge to Infestor and finally to Haunt. Just survive all three waves and eliminate the enemies to charge the sample.
Once all waves are completed, Haunt will be released as an HVTwhich you need to defeat to enter the second glitch wave.
Glitch Wave 2: Eliminate the HVT presence before time runs out
Once the Hunt from the previous glitch wave is defeated, It will develop into an Amalgam HVT. Take it out to wrap the second glitch wave. If you want to remove the most damage, Aim for the mouth on the torso of Amalgam.
Glitch Wave 3: Eliminate all enemies before time runs out
For the third glitch wave, players will need Defend two Mimic Cryo Tubes from waves of incoming fearsome enemies. Simply eliminate all enemies while protecting each Cryo Tube to complete the Glitch Wave. To track the spans for each incoming wave, Watch for a red storm beam moving around the area.

All dark ops challenges in black ops 7
We've compiled all the known Dark Ops challenges in Black Ops 7's Zombies, Multiplayer, and Endgame so you can unlock these powerful calling cards.
Glitch Wave 4: Eliminate the HVT presence before time runs out
After removing all fear in the third wave, You have to beat OSCAR HVT. Unlike the regular OSCAR, it doesn't generate its own forcefield, so you can defeat it by firing directly at it. but, It will drop shock charges in its path, electrocuting you if you get too close.
Glitch Wave 5: Save all areas before time runs out
For the next step, you need to secure three total fields. Each area spans certain locations, and to activate each area, players must press a button on the terminal, which will be highlighted in yellow for you to track. Press the button, stay in the zone and survive against waves of fearsome enemies, and then repeat this step for the remaining two zones to wrap up.
Glitch Wave 6: Defeat the Glitch Boss before time runs out
For the last glitch wave, you have to stop another Jursa. The means for defeating this Zursa is pretty much the same as when you encounter a captured convoy, So focus fire on those glowing weak spots and take out Zom-Bee's orbwhich is often born.
However, there is one notable difference in this boss fight. At various points, the bear will disappear, and You will have to destroy a series of beehives spread around the Glitch Sector. Shoot all the beehives and infestors that spawn from them to bring Zursa back to the area. Rinse and repeat until the Glitch boss is defeated to fully complete Command Killer Glitch Fracture.
All Glitch Stage: Command Killer Rewards in Black Ops 7 Endgame
|
reward |
Objectives |
|---|---|
|
 The Cold Shoulder Peacekeeper Blueprint  Terms of Service Calling Card |
Complete all previous Operation Wall Breaker steps and the following objectives:
|
|
 50/50 shutter shock leather |
Defeat the command killer glitch boss as 50/50 |
|
 Razor Shattered Skin |
Defeat the command killer glitch boss as Razor |
|
 Falconer shutter shock leather |
Defeat the command killer glitch boss as Faulkner |
|
 Decay Camo |
Unlock a Shattered Shock Operator skin |
|
 Visitor Camo |
Unlock all three Shutter Shock Operator skins |
